


The beautiful peacock, a majestic plume of long tail feathers trailing gracefully behind him mirrors this elegant posture. Typically considered an intermediate asana, Mayurasana – the Peacock, can be quickly mastered with a short daily practice and determination. It is sequenced after Ardha-Matsyendrasana practiced as a balancing variation of the Crow. With a little patience, you will see great improvement in wrist, arm and core strength, plus mental determination and focus. We hope you have fun adding this this exciting asana to your practice. If you have any questions leave a comment below or contact us, With Love Your Rainbow Yogis.
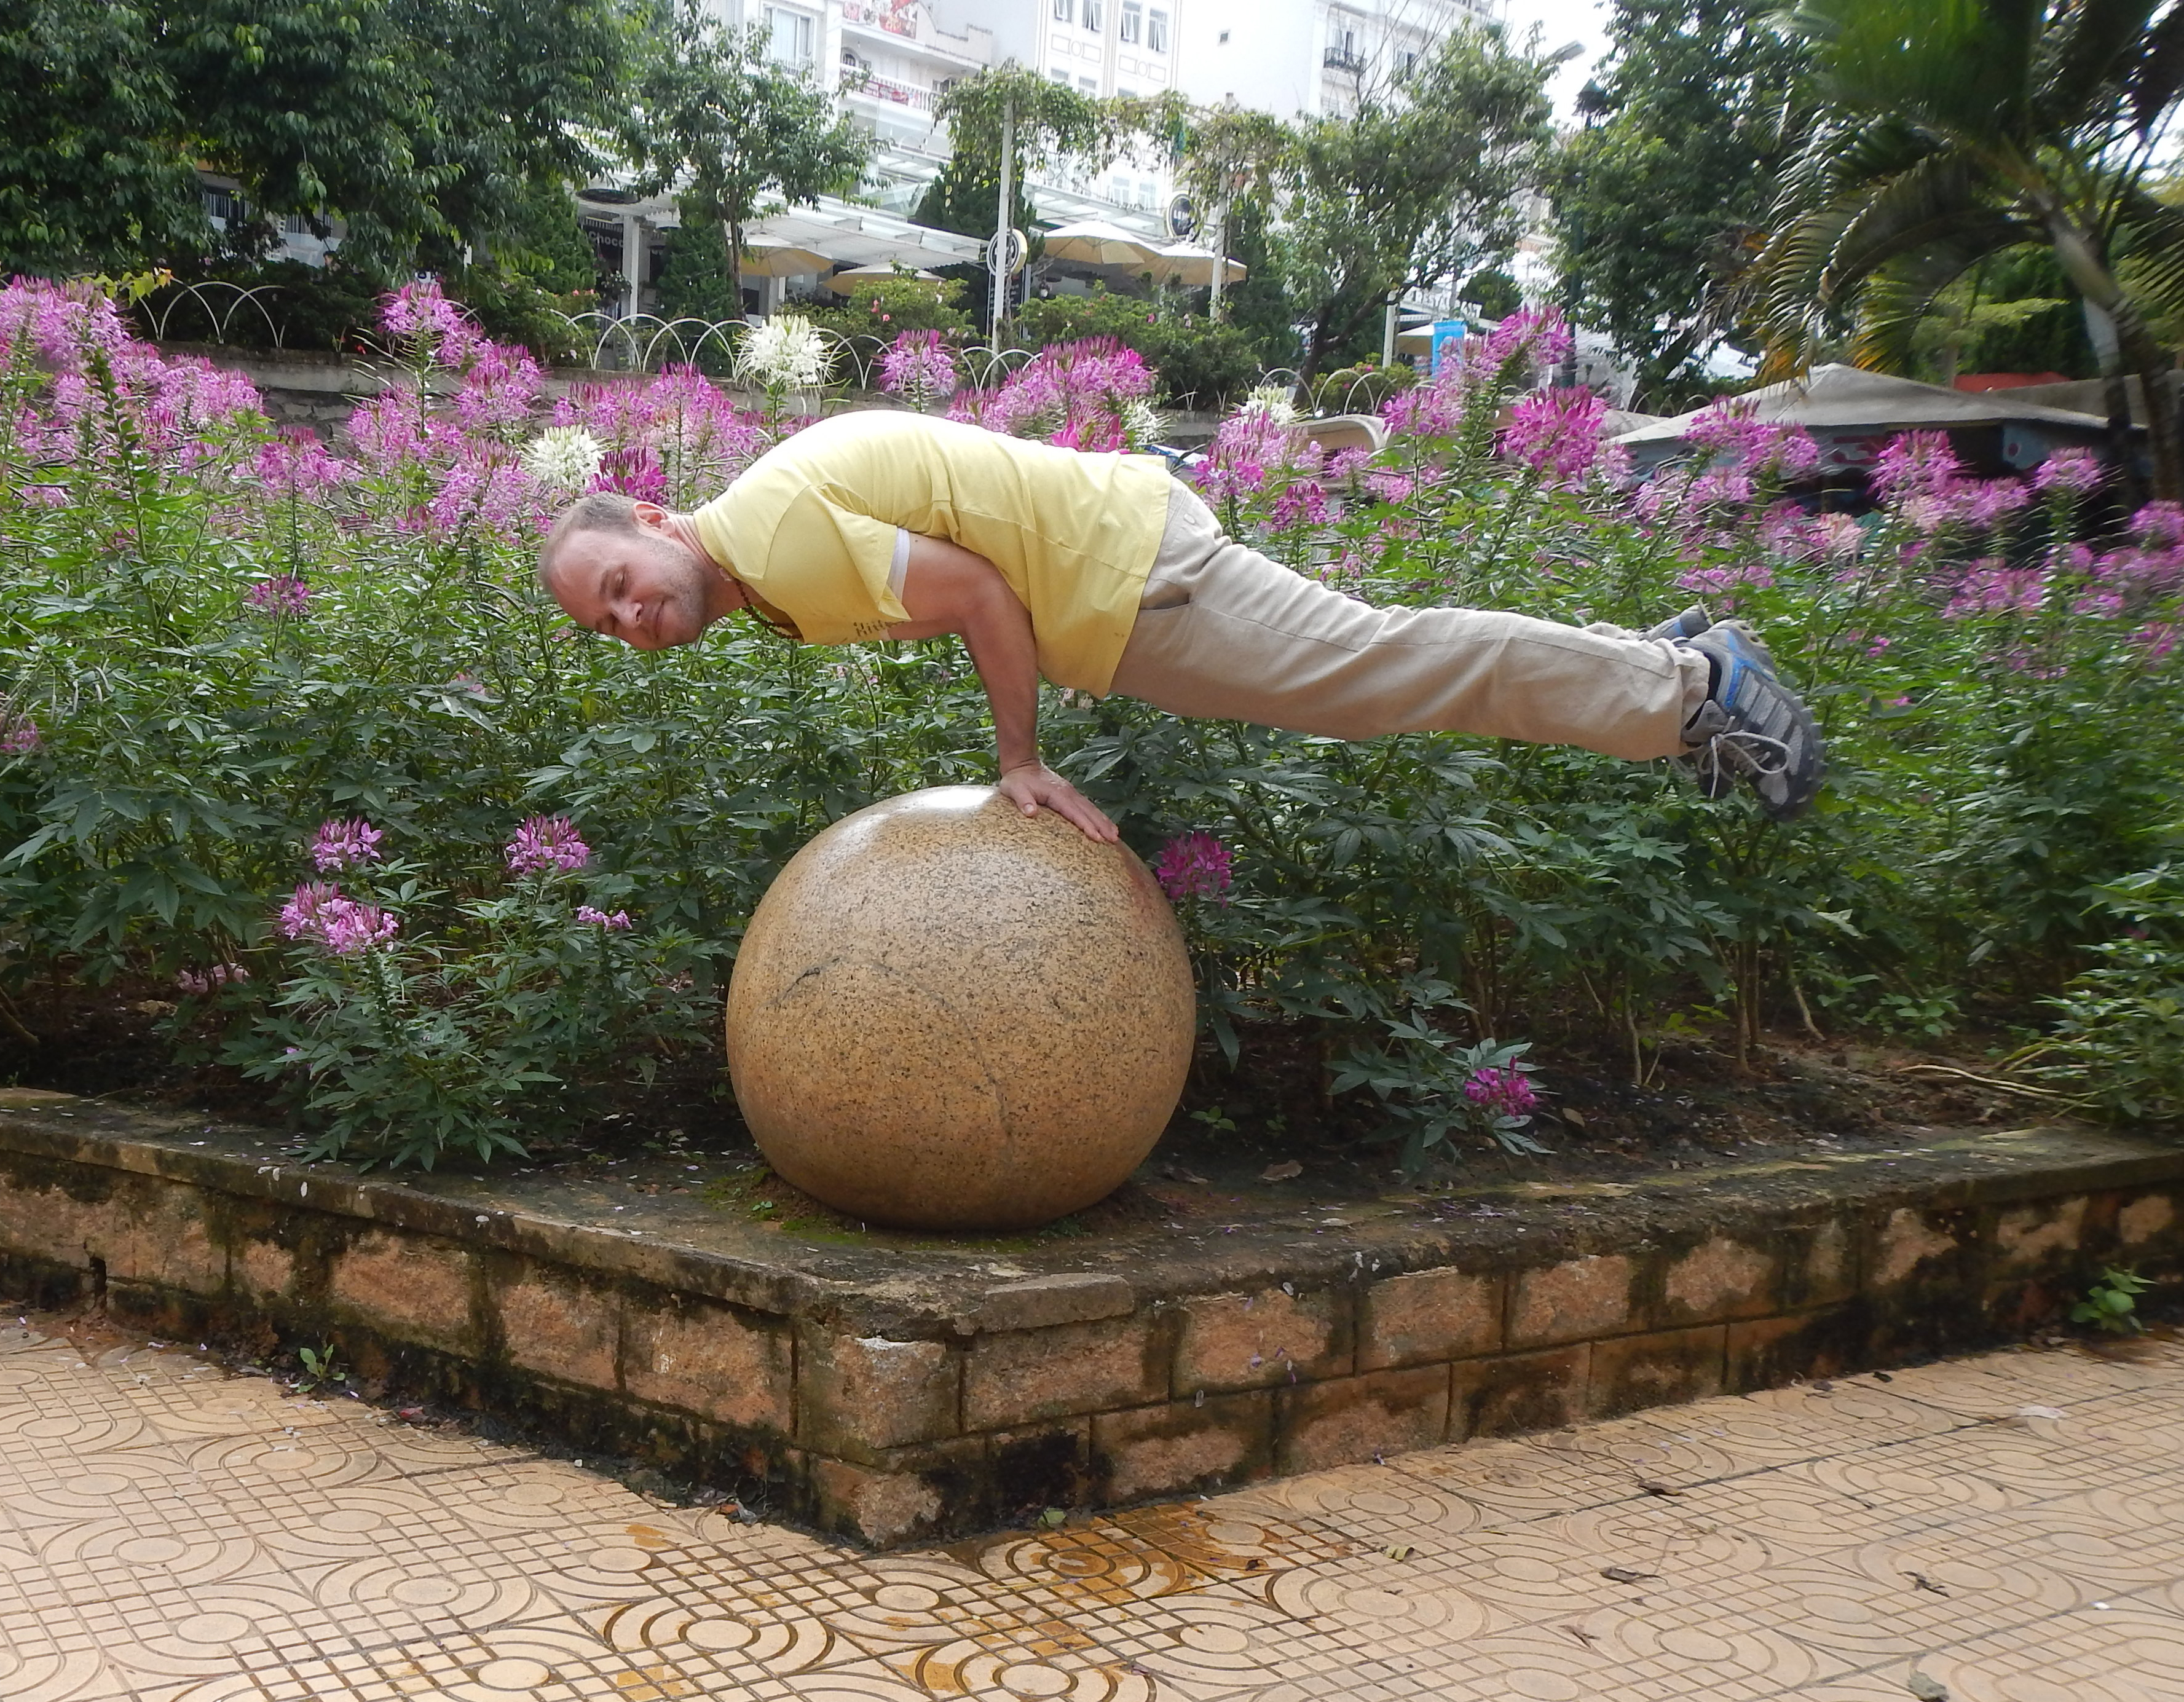
Floating amidst the flower gardens of Dalat, Vietnam
Benefits:
- Strengthens abdominal and arm muscles.
- Massages and strengthens the abdominal organs, improves digestion.
- Tones the reproductive system.
- Detoxifies the body.
- Brings balance and calm to the mind, reducing stress.
- Increases focus and builds determination.
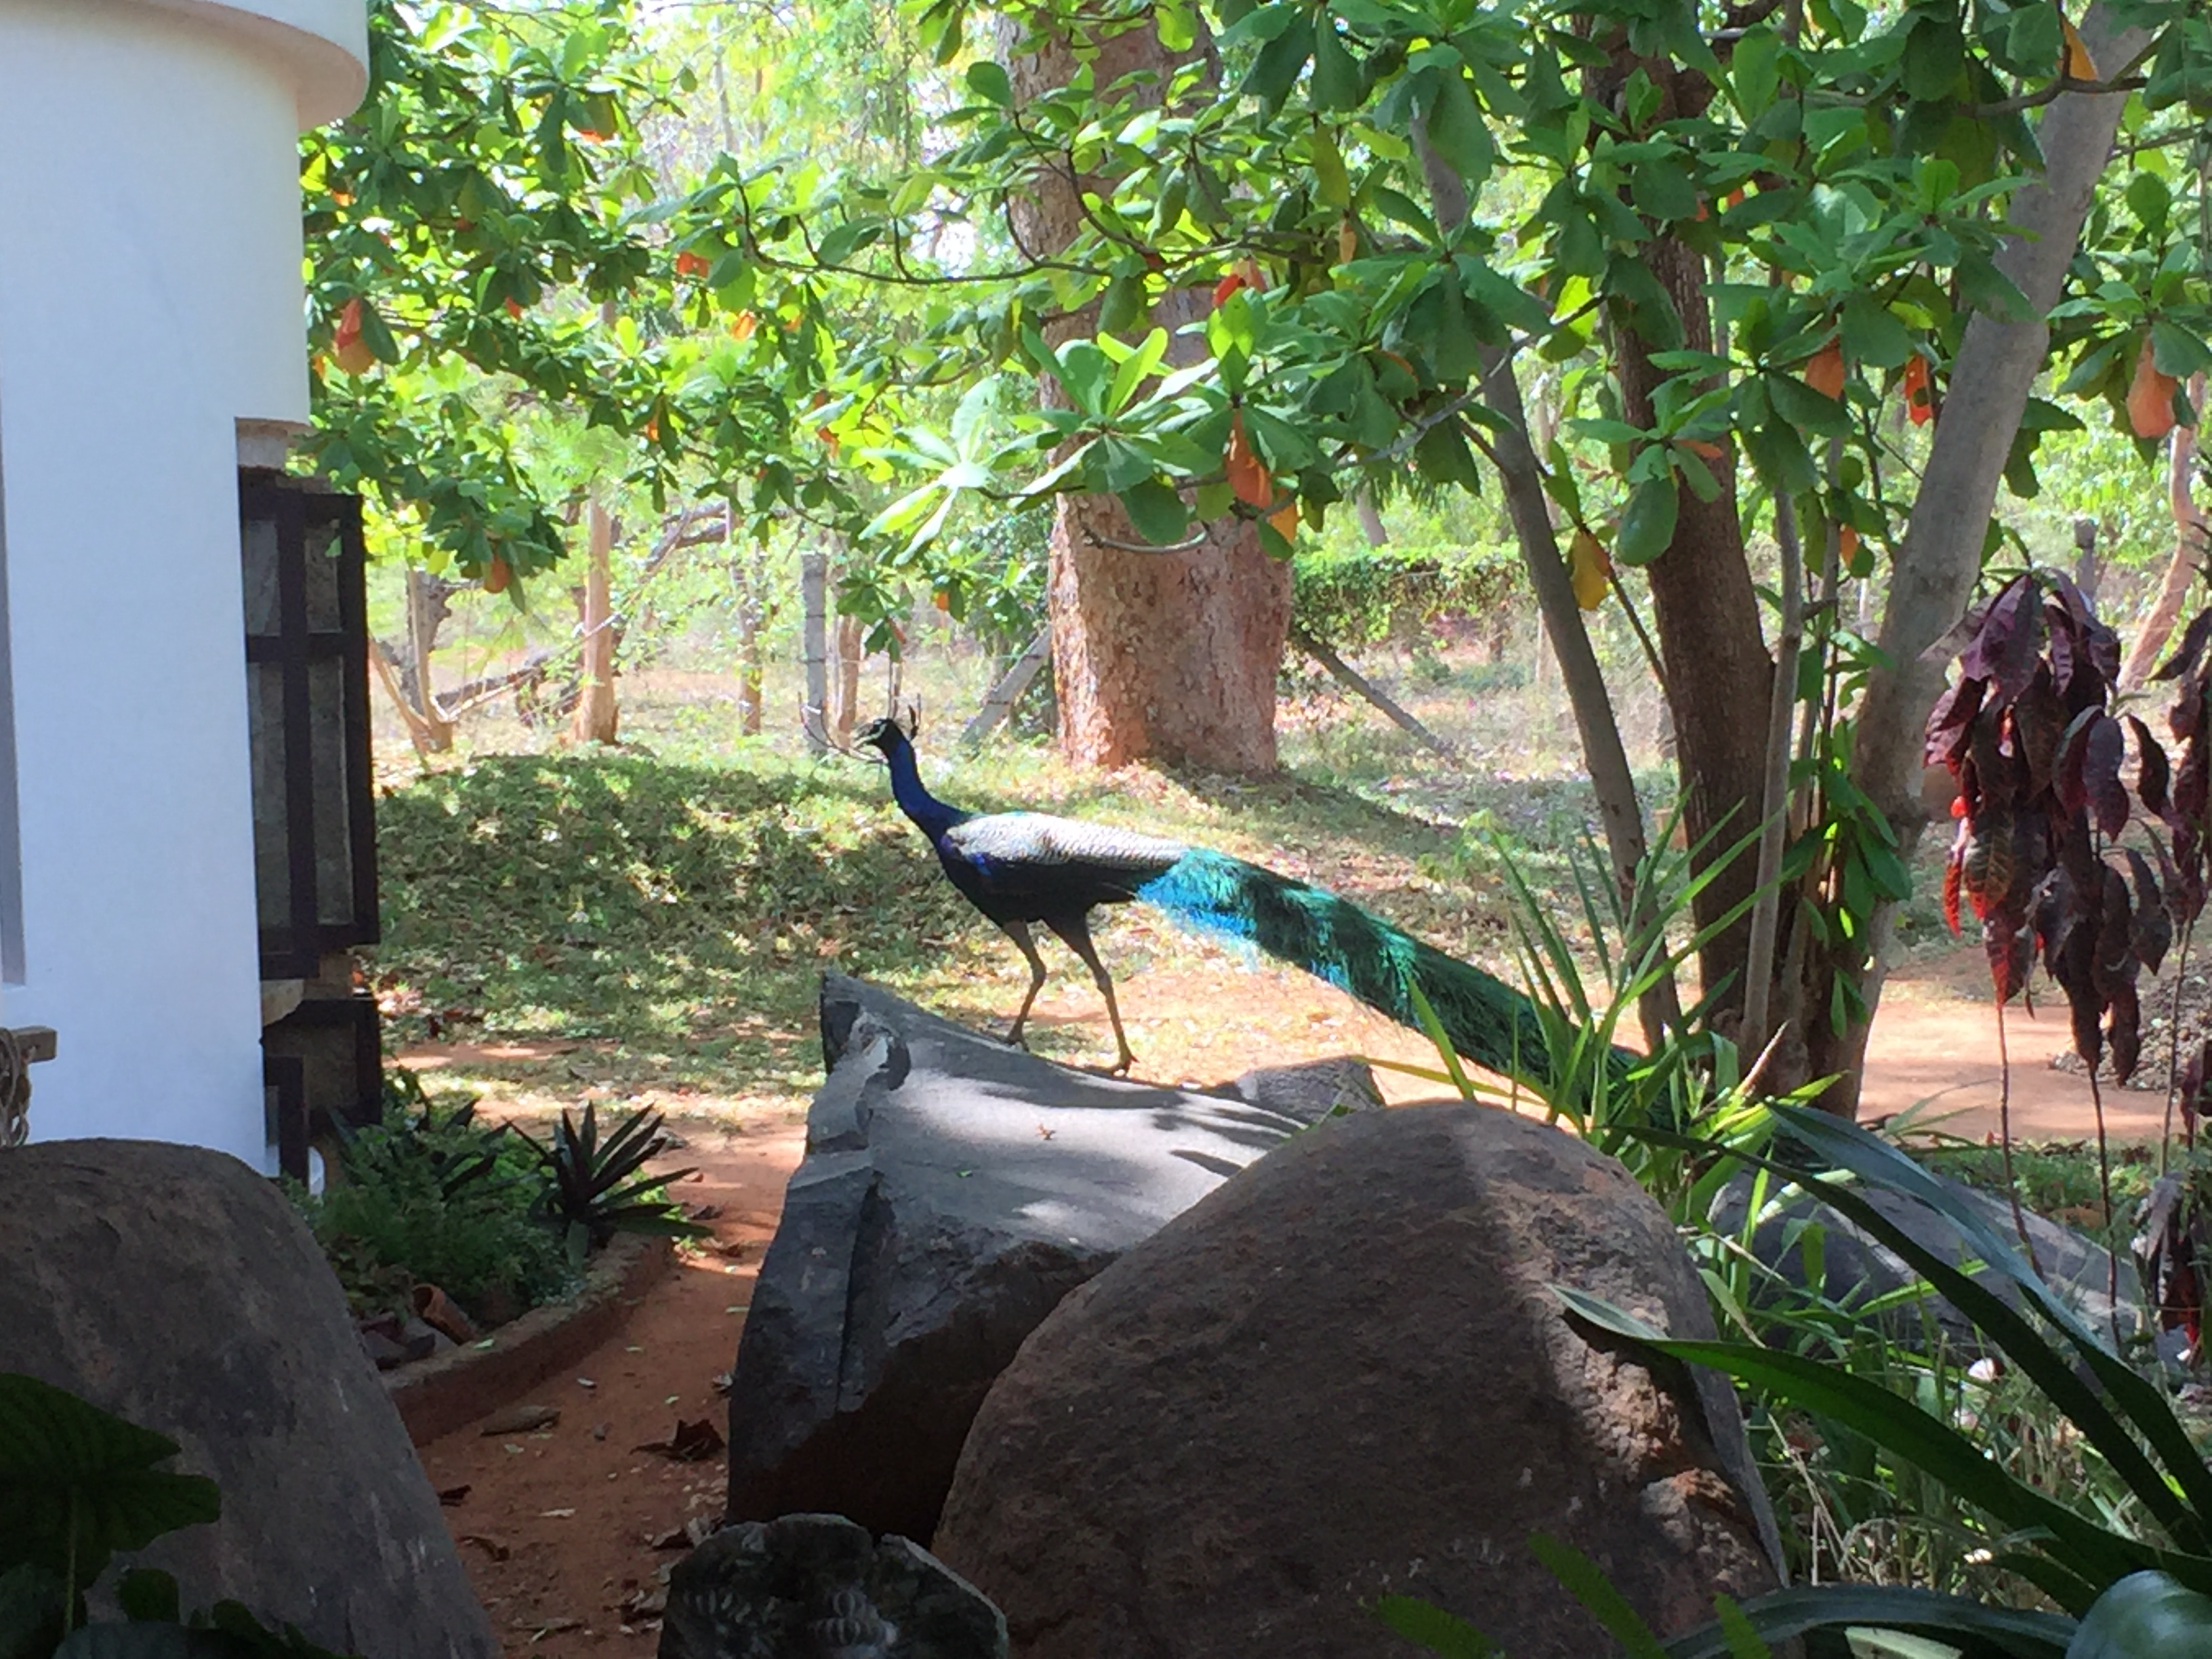
Our friendly wild peacock in Auroville, South India
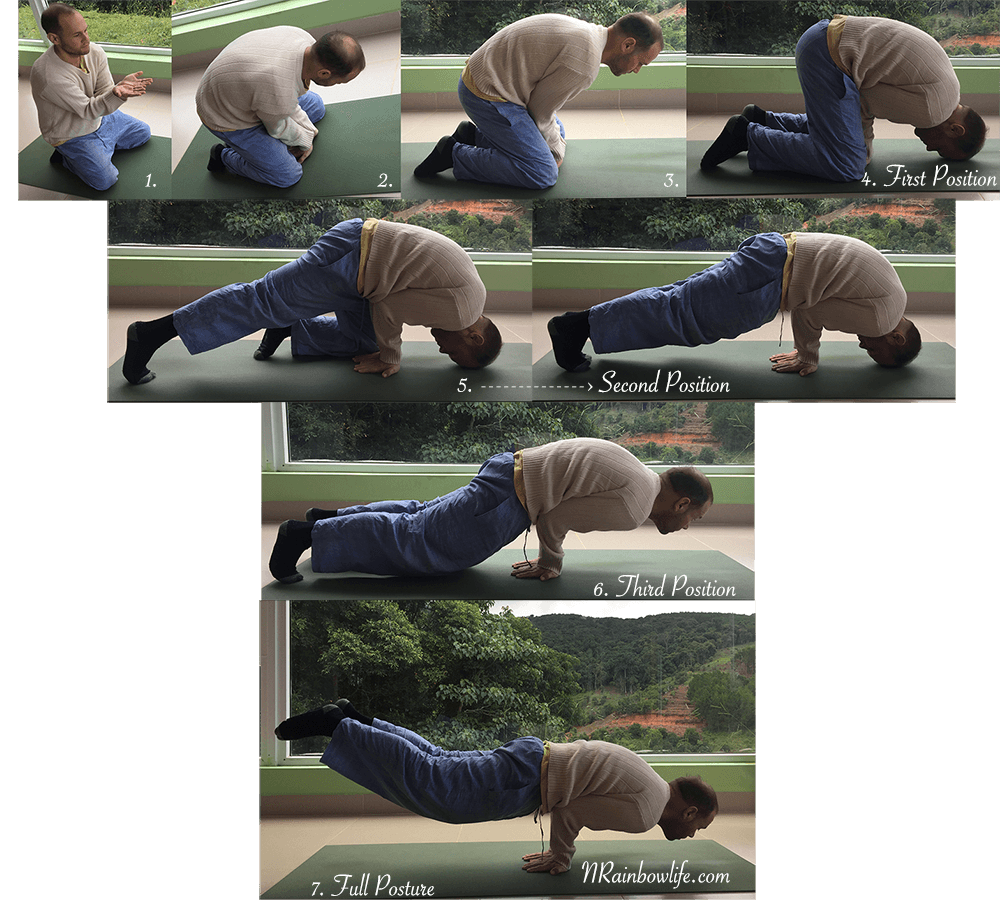
Instructions:
There are three preparatory positions in learning this asana. You can remain in any of these three positions as you gain strength and balance to practice the full posture. This posture puts a lot of pressure on the abdomen, if you have any pain in that area we do not recommend practicing this asana until your issue is resolved, always consult your doctor if in doubt.
1. Sit on the heels, spread the knees apart, bring elbows and hands together, palms open side by side.
2. Place the palms on the ground, between the knees keeping them together, fingers pointing back towards you.
3. Bend forward, the upper arms and elbows come into the abdomen, elbows and forearms remain together.
4. Bring the forehead to the ground, keep the core engaged, the knees remain on the ground. (This is the first position to find balance.)
5. One at a time, stretch the legs straight out behind with the feet together, toes on the ground forehead still on the mat helping you to balance. (This is the second position.)
6. Lift the head and look forward. (This is the third position, you are almost there!)
7. Do not pick up the feet! Begin to shift the head and body forward until the toes lift off the ground easily without effort. Keep the head up and body as straight as possible/ parallel to the ground. (Congratulations, This is the full asana.)
8. Hold as long as comfortable, gradually increasing to one minute.
9. Release the posture by lowering the knees to the mat. You may gently shake out the wrists and relax in Child’s Pose.
Some Tips:
- Practice for about 30 seconds a day, everyday. You will quickly improve, remember sometimes too much practice can be frustrating and tiring in the asana.
- It is easiest to learn this asana in the morning on an empty stomach, even drinking too much water can make it a little more difficult to balance on the abdomen. But anytime the stomach is empty is a good time to practice.
- Go slow, be comfortable with each of the three preparatory positions.
- Often when people are learning this asana they have a tendency to slip to the side, be aware.
- After you pick you head up in step 6, shift the weight forward, do not pick up the feet. If you try and jump the feet up you will not balance. The head moves straight out over the mat and the angle of the forearms shifts forward as well. There is a slight movement in the wrists as the body moves forward.
- Keep the head up while looking forward to help shift the weight properly.
- If the first position puts a lot of pressure on the wrists, come up until it is comfortable and hold there. Allow the wrists to become stronger and more flexible slowly, do not force yourself through pain in the wrists to conquer this asana. Go slow and be gentle with yourself, then you will get all the benefits without injury or discouragement.
- Try and keep the elbows together on the abdomen, not resting on the hip bones.
- Have fun!